Painting your kitchen cabinets? Masking tapes that don't leave residue are a game - changer.
Key Factors in Choosing Masking Tapes for Kitchen Cabinets
Adhesion Strength & Surface Compatibility
When selecting masking tape for kitchen cabinets, adhesion strength is crucial to prevent paint bleeding. Strong bonding capabilities ensure that paint doesn't seep under the tape, which is essential for achieving clean lines. The tape must adhere well to various cabinet surfaces like wood, laminate, and metal. To guarantee effectiveness, it’s important to test the tape on different finishes to avoid any damage. Expert opinions recommend high adhesion levels for optimal outcomes, especially when dealing with different cabinet materials. This not only improves the visual appeal of your painted cabinets but also safeguards the materials underneath.
Temperature Resistance During Paint Curing
Temperature resistance is an important factor when choosing masking tape, as fluctuations during paint curing can affect outcomes negatively. Masking tape serves a protective role by minimizing issues like warping or color distortion due to temperature changes. Tapes are engineered to withstand specific temperature thresholds; manufacturers often provide this information. Reviewing data from paint industry standards substantiates the necessity for selecting heat-resistant tapes, especially in environments with significant temperature variation. This consideration is crucial for maintaining the integrity and quality of the paint job throughout the curing process.
Tape Flexibility for Detailed Cabinet Edges
Tape flexibility is vital for ensuring the tape conforms to the unique contours and detailed edges of kitchen cabinets. Flexible masking tapes help in maintaining cleaner paint lines, especially on intricate designs, by minimizing areas where paint might seep through. Expert advice highlights the importance of tape that can adapt to irregular surfaces, thus enhancing the painting process. Tapes with superior flexibility are more forgiving during application and are critical for achieving professional-quality results on detailed work, ensuring every edge is smoothly covered.
Width Options for Efficient Coverage
The choice of tape width significantly impacts coverage efficiency, particularly on cabinets with varying surface areas. Wider tapes expedite the process on larger, flat surfaces by reducing the number of passes required. Conversely, narrower tapes are better for precision, especially around detailed trims. Choosing the appropriate tape width can save project time, balancing speed with accuracy. Statistics reveal that selecting the right tape width can lead to substantial time savings, enhancing overall efficiency in painting projects.
Importance of Residue-Free Removal in Cabinet Painting
How Adhesive Formulations Prevent Paint Tearing
Choosing the right adhesive formulation ensures that masking tape removes cleanly without leaving behind any residue or causing paint to tear during removal. In cabinet painting projects, where achieving a flawless finish is critical, adhesives play an essential role. High-quality masking tapes are typically designed with low-tack adhesives that provide secure adhesion but allow for easy peeling. For example, painters tape is engineered to provide crisp lines, without paint bleeding beneath the tape, while ensuring residue-free removal. The chemical composition of these adhesives includes carefully balanced compounds that maintain their hold during the painting process but release without damaging the surface once the paint is dried. According to paint industry standards, optimal adhesive properties are characterized by a balance of initial adhesion and peel resistance (Journal of Coatings Technology and Research).
Non-Solvent vs Rubber Adhesives Compared
When it comes to adhesive options in masking tapes, non-solvent adhesives are often favored for their residue-free removal and environmental benefits. Non-solvent varieties, which are typically water- or acrylic-based, provide a reliable bond that peels cleanly even after the paint has dried. On the other hand, rubber adhesives offer strong initial adhesion, particularly useful for surfaces like textured wood or heavily finished cabinets but may cause residue or paint damage if left on too long. Experts often recommend non-solvent adhesives for cabinets made from materials sensitive to adhesive residue, while rubber adhesives might be better suited for raw, unfinished wood surfaces that require a stronger bond and are less at risk for residue issues.
Time-Sensitive Removal Best Practices
Adhering to time-sensitive removal practices is crucial for ensuring residue-free removal of masking tape and maintaining clean paint lines on cabinets. The optimal time to remove masking tape is while the paint is still tacky but not completely dry, allowing for seamless removal without damaging the paint. To minimize paint mishaps, it's vital to gently pull the tape back on itself at a 45-degree angle to achieve a clear, crisp line. Experts suggest paying attention to environmental factors such as humidity and room temperature, as they can influence drying times. Adapting removal techniques based on these conditions ensures professional-quality results and prevents common pitfalls like peeling or tearing the painted surface.
Application Tips for Sharp Lines and Clean Edges
Proper Surface Prep for Tape Adhesion
Proper surface preparation is crucial for optimal tape adhesion, especially when aiming for sharp lines and clean edges in cabinet painting. The key to effective tape adhesion is cleaning and sanding the surfaces adequately. Dirt, dust, and grease can hinder the tape from sticking properly, increasing the risk of paint bleed. Tools such as a damp rag and mild soap can clean most surfaces effectively, while fine-grit sandpaper helps smoothen surfaces for better bonding. Inadequate prep often results in paint seepage, as seen in projects where surfaces were not adequately cleaned or sanded. Cleaning and sanding might seem tedious, but they are vital steps in achieving crisp lines.
Layering Technique for Curved Cabinet Profiles
Using a layering technique for applying tape on curved cabinet profiles is essential to avoid paint bleed and achieve smooth transitions. This method involves applying the tape in overlapping layers, which gradually build up a barrier that prevents paint from seeping underneath. Different techniques vary from light overlapping to more complex spiral applications, recommended for more intricate curves. Expert advice suggests that taking time to apply the tape carefully in layers can make a noticeable difference, ensuring that those classy cabinet details remain immaculate and free of paint intrusion.
Bleed-Through Prevention Methods
To prevent paint bleed-through, incorporating certain methods like the use of primers and sealants is highly effective. The choice of paint also plays a significant role; water-based paints are more prone to bleeding than oil-based alternatives, necessitating different preventative strategies. Experts recommend applying a thin layer of clear acrylic sealant before painting to minimize this risk. According to statistical data, projects that fail to properly secure tape or use the wrong type of paint report higher incidents of bleed-through. Careful selection of paint types and sealant use can significantly cut down these occurrences, ensuring cleaner edges and a more professional finish.
Top Masking Tape Picks for Kitchen Cabinet Projects
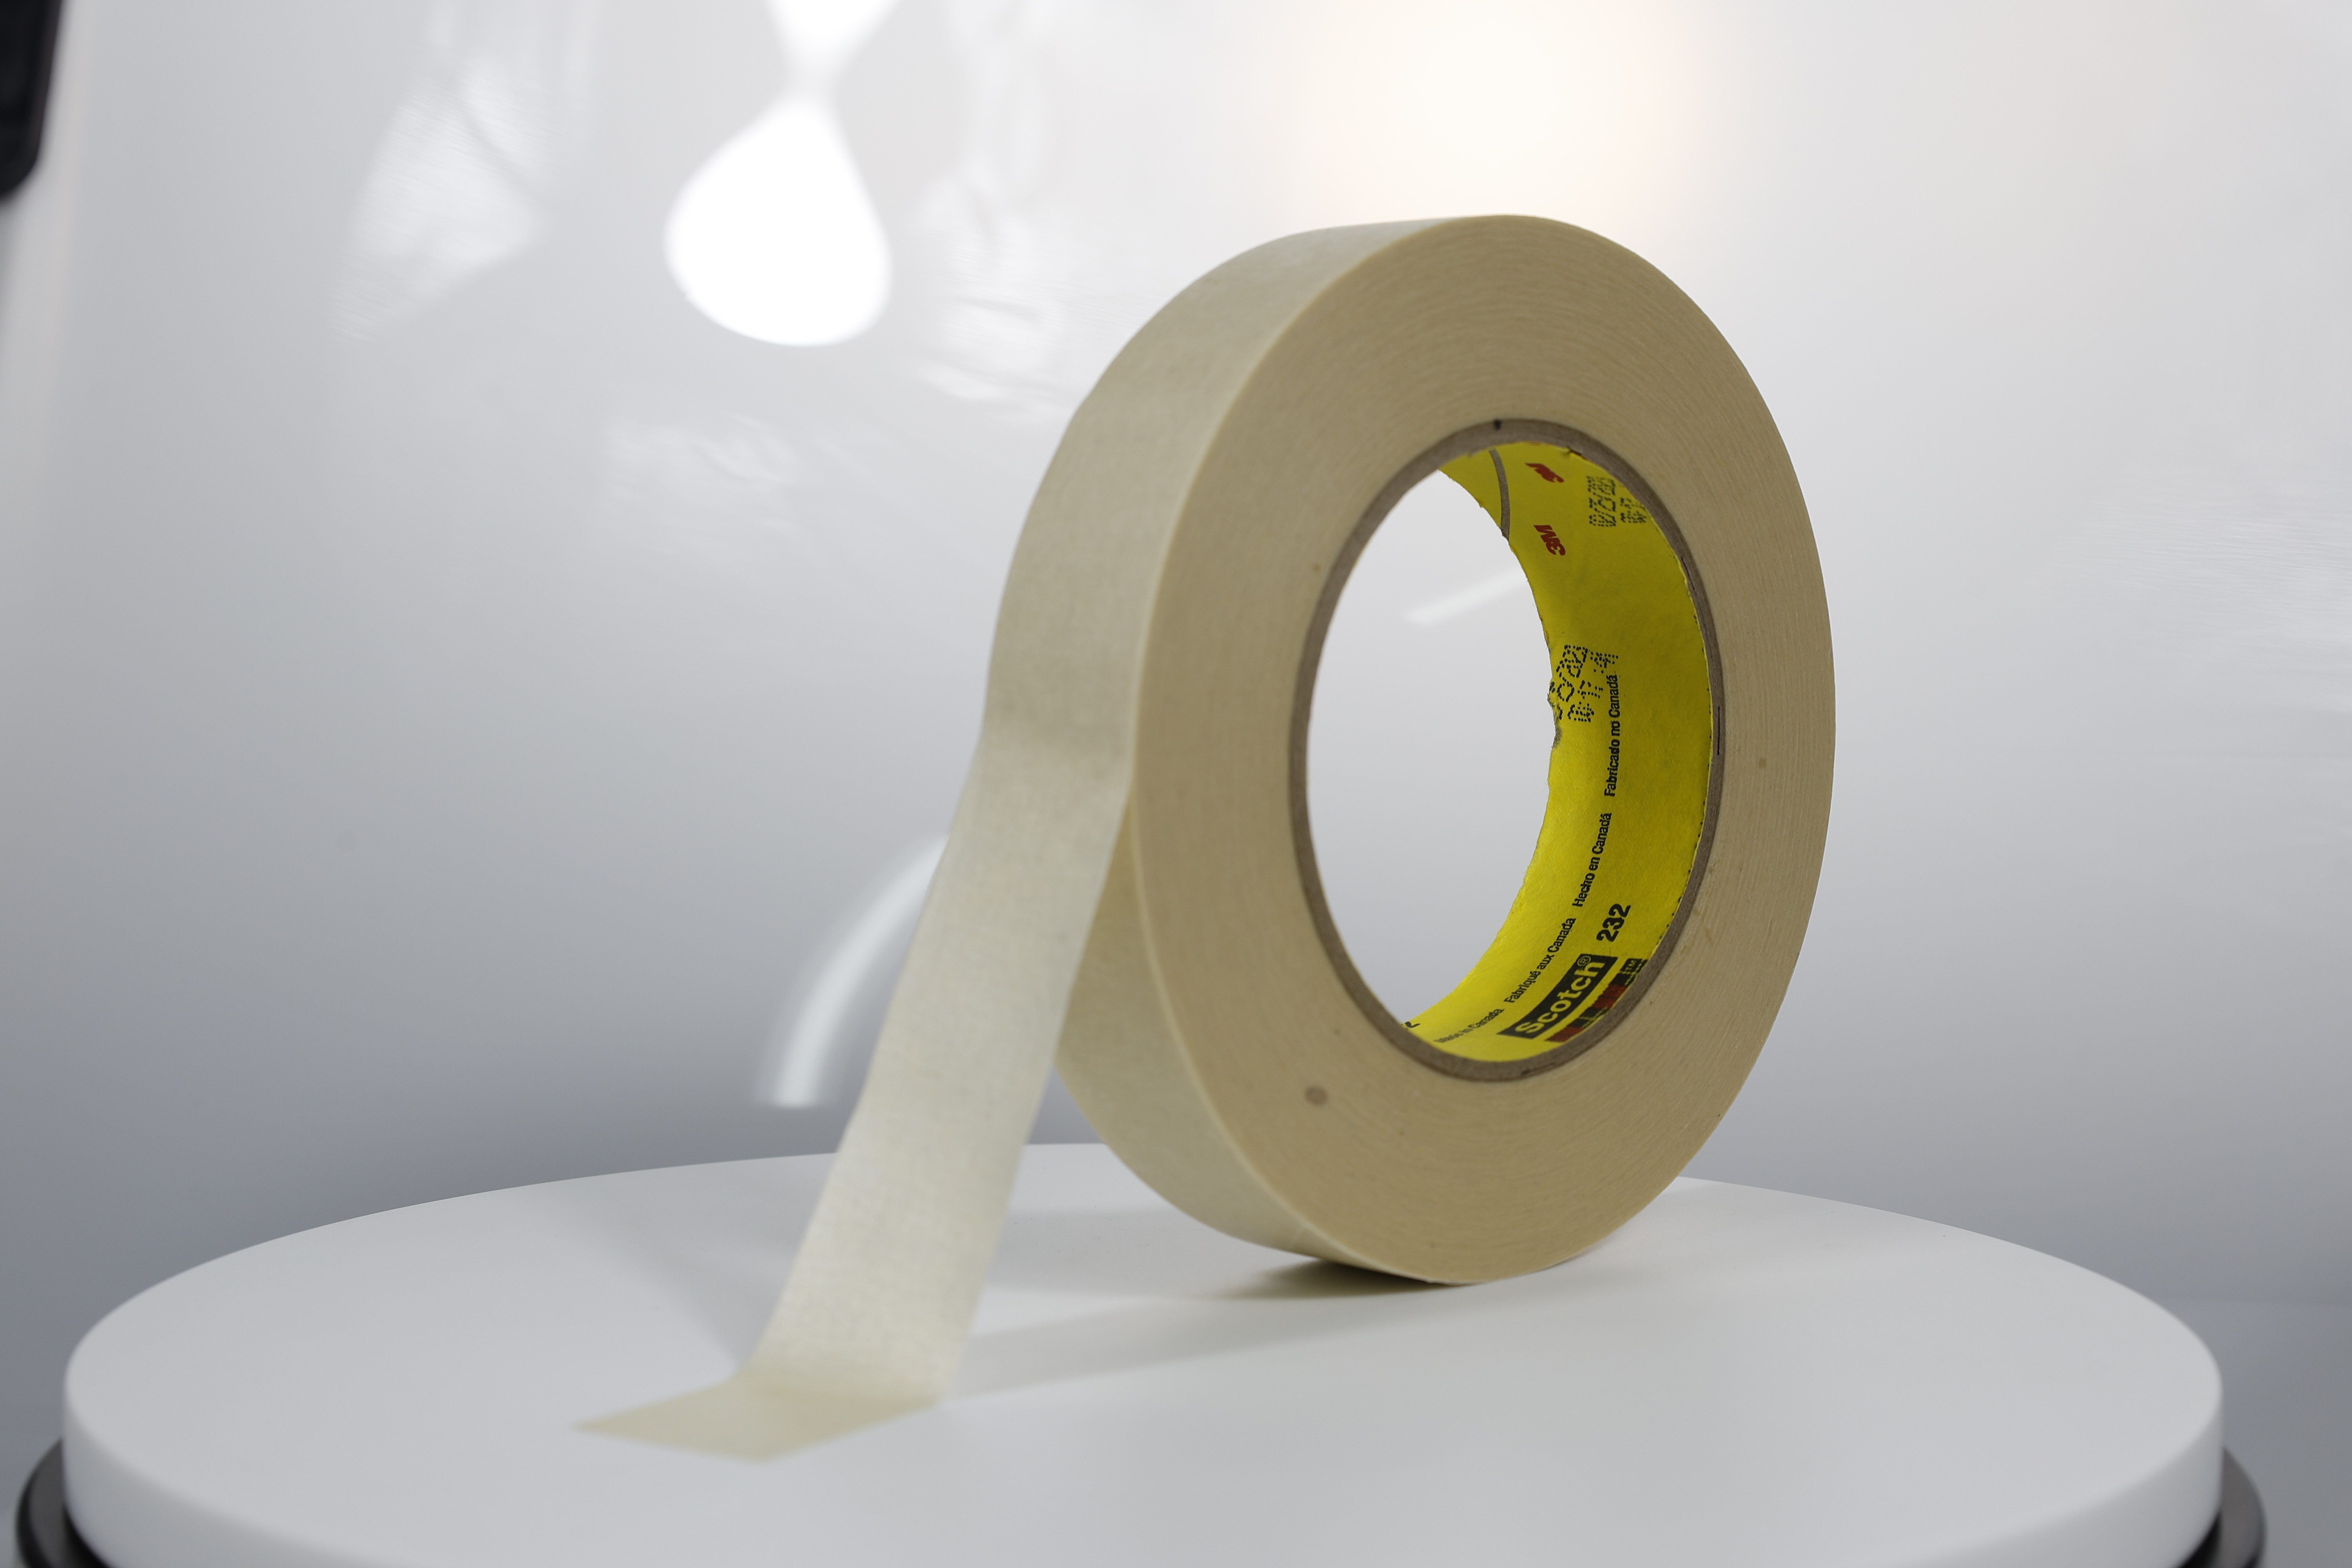
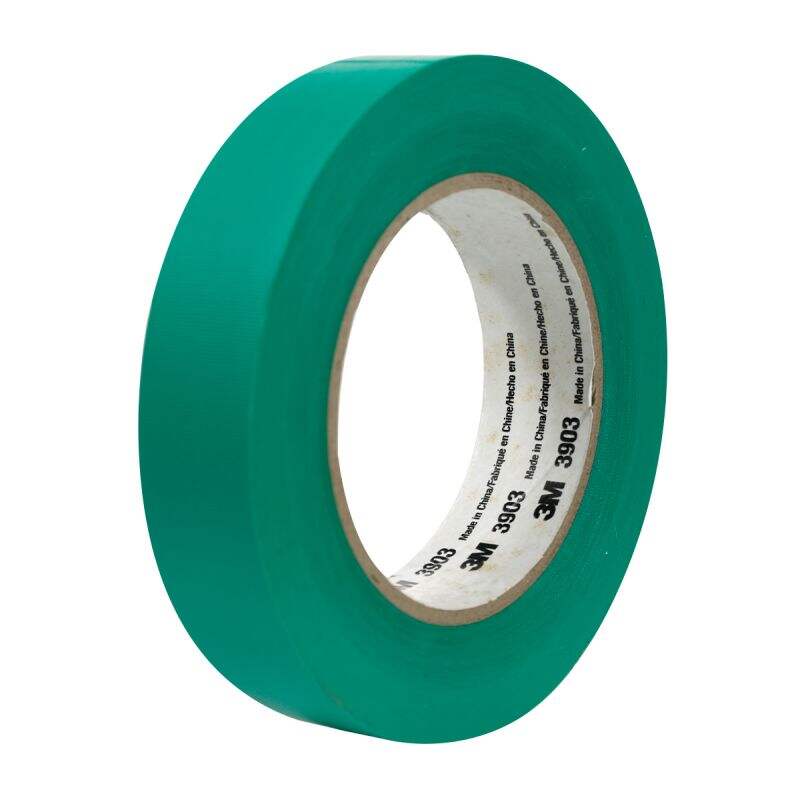
Performance Green Masking Tape 233+ - Automotive-Grade Precision
The Performance Green Masking Tape 233+ is renowned for its automotive-grade quality, making it a top choice for cabinet projects requiring precision. This tape's robust adhesion ensures it sticks firmly to various surfaces such as glass, metal, and paint, while its flexibility aids in creating sharp and clean paint lines. Many users appreciate the tape's ease of removal, which leaves no residue, and have shared testimonials praising its ability to minimize rework, unlike inferior competitors. For those seeking quality and precision in taping complex curves and edges during painting, this tape stands out as an exceptional option.
.jpg)
3M™ High Performance Green Masking Tape 401+ - Heat-Resistant Formula
The 3M™ High Performance Green Masking Tape 401+ distinguishes itself with its heat-resistant properties, making it ideal for high-temperature applications. It performs consistently well in paint bake operations with temperatures up to 250°F, ensuring reliable adhesion and clean removal without leaving any residue. Feedback from the industry highlights the tape's durability and its effective block against paint bleed-through, crucial for creating precise, flawless finishes. Its impeccable performance in such demanding conditions makes it a go-to choice for professionals handling intricate paint jobs under high-temperature processes.
.png)
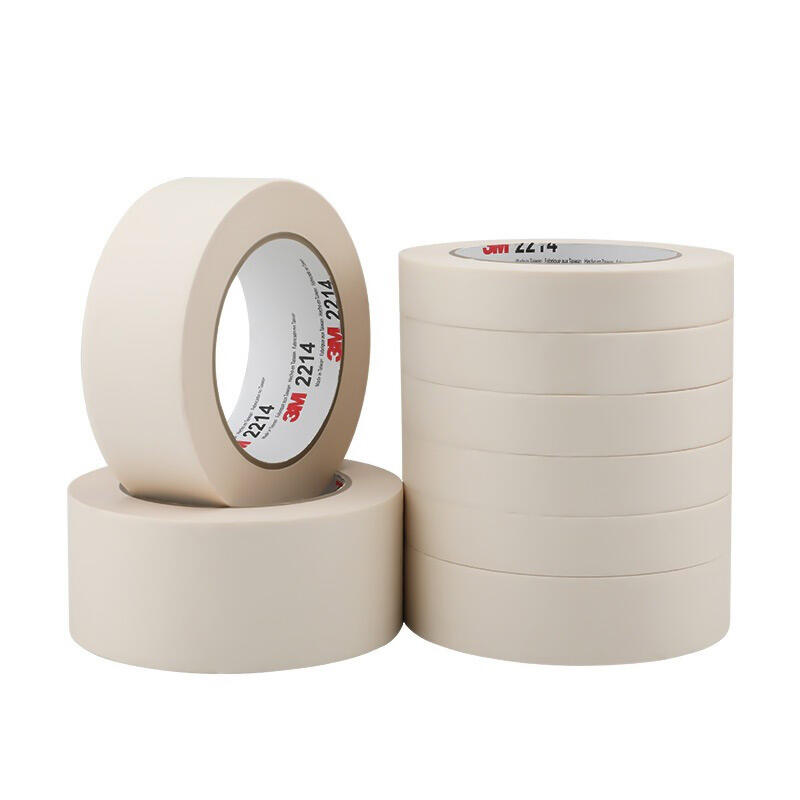
3M™ Paper Masking Tape 2214 - Budget-Friendly Indoor Solution
The 3M™ Paper Masking Tape 2214 offers a cost-effective solution for indoor kitchen cabinet projects, making it ideal for DIYers seeking reliable results without breaking the bank. It is highly effective on smooth surfaces, providing quick adhesion and easy removal which is praised in many customer reviews. Its crepe paper backing makes it easy to tear by hand, adding convenience to its affordability. For projects focusing on light-duty holding or bundling and non-critical paint masking, this tape delivers satisfactory performance while keeping budget constraints in mind.
Maintaining Cabinet Finish: Tape Removal and Final Touches
Angled Removal Technique for Clean Lines
Ensuring clean lines during tape removal requires mastering the angled removal technique. This method prevents paint from pulling off and wrecking the precision you worked hard to achieve. The technique involves removing the tape by pulling it back at a 45-degree angle while the paint is still wet to avoid peeling or smudging. To execute this effectively, start at a corner and slowly peel back, maintaining even tension on the tape. Utilize visual aids from reputable sources or seek expert advice for more clarity on this technique. In doing so, you'll ensure the lines remain crisp, enhancing the overall quality of your cabinet paint job.
Post-Removal Surface Inspection Steps
After removing the tape, it’s crucial to inspect the surface to ensure it meets your standards. This step involves identifying any imperfections or areas that might require touch-ups. Start by using a flashlight or a straight edge tool to check under different lighting conditions for any hidden irregularities. Professional painters often recommend surveying the cabinet from multiple angles to catch any flaws. Adopting such best practices ensures you can address any issues promptly, setting the stage for a masterpiece finish.
Touch-Up Strategies for Imperfections
Addressing imperfections on painted cabinets requires strategic methods like feathering and precise color-matching techniques. Feathering, for instance, involves softly blending edges of paint to create a seamless transition. When selecting touch-up paints, choose those specifically designed for cabinetry, ensuring they match the original color and finish. Application methods may vary, with some professionals advocating for small, high-quality brushes or even fine-tipped markers for minor corrections. Successful touch-ups are often highlighted in testimonials or case studies, underscoring the importance of using the right techniques and products to maintain a flawless cabinet finish.

 Hot News
-
Pakistan Business Delegation Visits Our Factory, Seals Partnership With Immediate Deposit
2025-04-29
-
TAPE Team Conquers Shenzhen’s Phoenix Mountain: Unity, Ambition, And New Heights In 2025
2025-02-21
-
The Role of Polyimide Electrical Tape in Electronics Insulation
2025-01-21
-
High Strength Double-sided Tape for Secure Bonding
2025-01-15
-
Durable Foam Tape for High-Performance Applications
2025-01-10
-
High Temperature Resistant Masking Protective Tape for Extreme Conditions
2025-01-01